ITX AM5 Desktop Build
pc-buildhardware working
4/15/2026
Tools: Phillips screwdriver, cable ties, No More Nails construction adhesive, utility knife
Parts: Metalfish G5 Plus case, Gen 4 PCIe riser (came with case), Thermalright AXP90-X47 CPU cooler (came with case), Cooler Master V650 SFX PSU — 80+ Gold, Crucial overclock 6000 MHz CL36 32 GB RAM kit, Ryzen 5 8600G, ASRock B850I Lightning WiFi, Kioxia Exceria Plus G3 1 TB NVMe SSD, AM5 secure frame, Thermalright TL-M12QW case fans (3-pack, daisy-chain), Real wood veneer (for custom wood panel mod)
Time spent: ~4 hours
Cost: ~49K PHP (~$870)
Context
Recently gave my main desktop to my nephew as a late birthday gift. That rig was a Techware Fusion 2 with a Ryzen 7 5700G, Gigabyte B450 I AORUS PRO WIFI, Teamgroup 32 GB DDR4 3200 MHz, Sapphire Nitro+ RX 6700 XT, and a 750 W 80+ Bronze PSU. I was planning to just dock my laptop at home indefinitely, but marketplace browsing changed that.
Plan
Found a used Metalfish G5 Plus ITX case with a Gen 4 riser and a free Thermalright AXP90-X47 cooler for 3,000 PHP. I already had a Cooler Master V650 SFX PSU from a prior build. The impulse was set. I decided on AM5 despite still-rising RAM prices, secured parts in phases, and aimed for a clean, compact build with minimal cable clutter.
Execution
Phase 1 — Platform and core components
- RAM: Crucial overclock 6000 MHz CL36 32 GB kit — 20,000 PHP, Facebook Marketplace gamble.
- CPU + mobo: Ryzen 5 8600G + ASRock B850I Lightning WiFi — 24,000 PHP total, Shopee.
- SSD: Kioxia Exceria Plus G3 1 TB — 5,000 PHP from a local shop I happened to visit while picking up the RAM.
- Extras: AM5 secure frame and a 3-pack of Thermalright TL-M12QW splicing/daisy-chain case fans.
Phase 2 — Assembly and cooling
- Used two TL-M12QW fans as top exhaust in the G5 Plus.
- Replaced the stock 92 mm fan on the AXP90-X47 with the extra TL-M12QW using a 3D-printed adapter.
- Daisy-chained fans to reduce cable clutter.
- POSTed first try. Enabled EXPO profile and tuned BIOS settings.
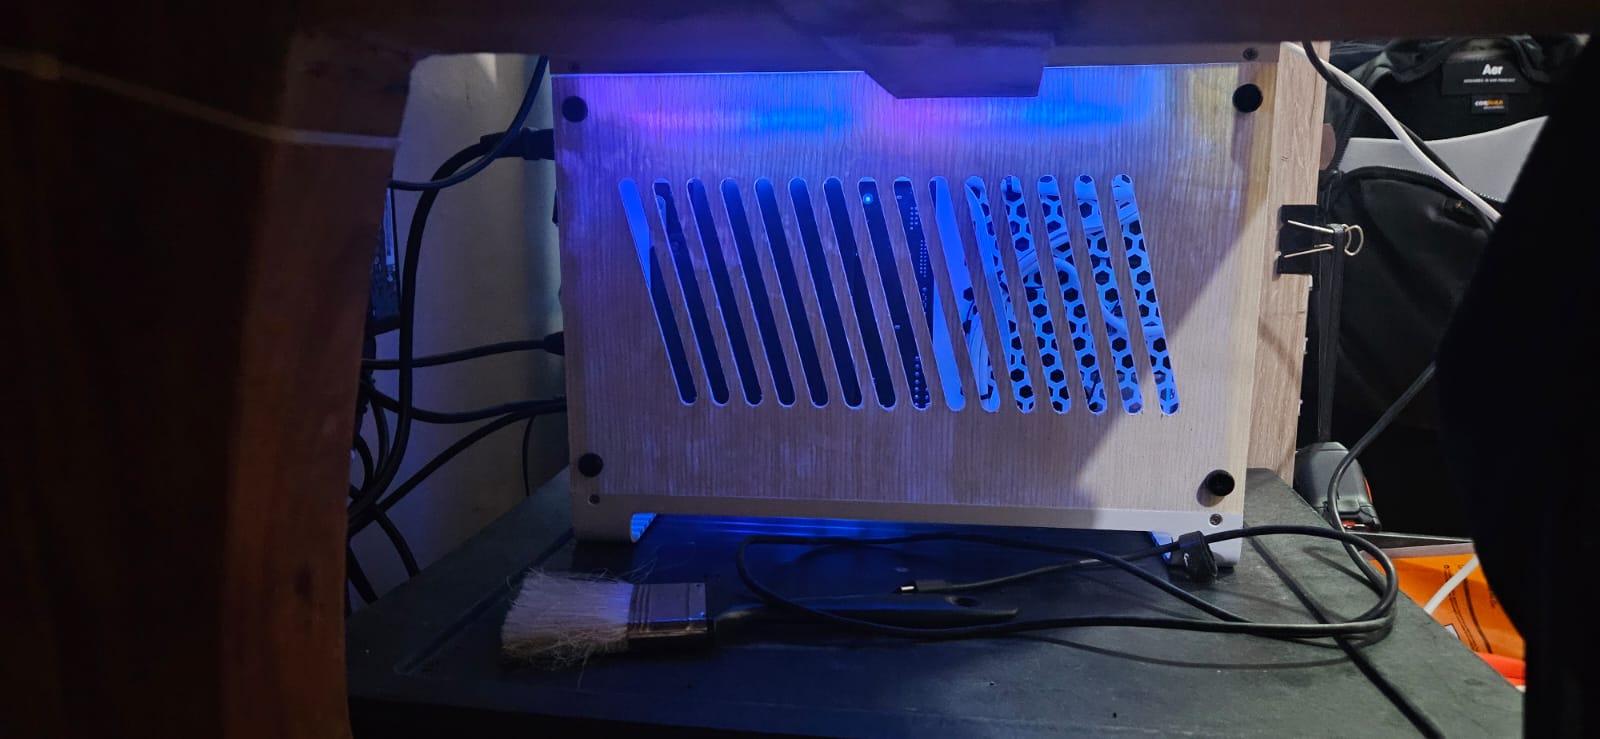
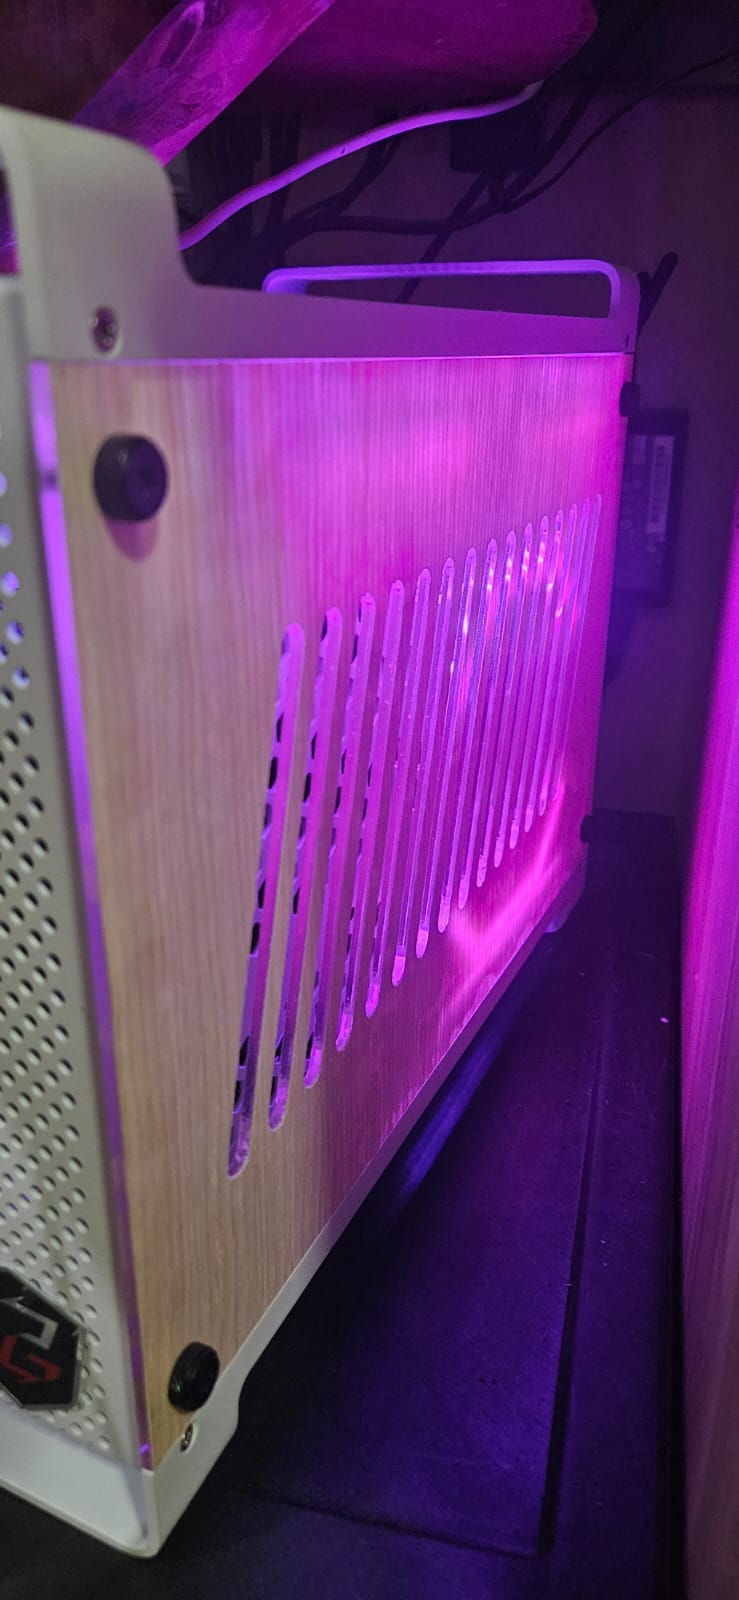
Phase 3 — Custom wood panel mod
- Saw builds online with wooden highlights and wanted the same look.
- Bought a roll of real wood veneer.
- Glued it to the existing acrylic panels with No More Nails construction adhesive.
- Cut slats and ventilation holes through the veneer with a utility knife.
Result
System POSTs reliably, EXPO runs stable at 6000 MHz, temps are controlled. The wood veneer mod gives it a warmer look than plain acrylic. GPU side is currently empty — integrated Radeon graphics on the 8600G handles daily tasks fine. Planning to add a discrete GPU maybe a year or two from now.
Lessons
- Buying RAM on Facebook Marketplace is a gamble — test with memtest immediately.
- Daisy-chain fans in a small ITX case are worth the small premium for cable management.
- Veneer + construction adhesive is a cheap DIY aesthetic upgrade, but measure twice and cut slowly — utility knife slip marks are permanent.
- Local shop SSD prices can beat online listings; it pays to ask in person.